Bananas
Description
Are you looking to preserve the delightful sweetness of bananas for your smoothies, baking, or just as a healthy snack? Freeze drying bananas at home is a breeze, and we've got all the steps you need to ensure they come out perfect every time. Here's how to turn those potassium-rich fruits into long-lasting treats.
Ingredients
Bananas Lemon Juice (optional)
Freeze Dryer Settings
Follow your freeze dryer's instructions to start the default drying process. Pro-tip: set your extra dry time to 12+ hours. You wouldn't want it to shut down at 4 AM before you wake up and need more time if it wasn't quite finished.
No Mats
Run time: 16 - 48 hours

Prep
Start with ripe bananas for the best natural sweetness. Peel each banana carefully, ensuring all the stringy pieces are removed. This will give you a smooth texture in the finished product.
Slice with Ease
Thin, consistent slices are key for even freeze drying. While a knife does the job, we've discovered a game-changing mandolin food slicer from Walmart HERE. that slices 3-4 bananas simultaneously. Talk about a time-saver!
Lemon Bath (Optional)
To keep your banana slices looking as good as they taste, give them a quick lemon juice toss. Mix them in a bowl with fresh lemon juice to coat evenly. This step is optional but recommended to prevent browning and maintain a fresh appearance.
Arrange for Success
If you're in a hurry, lay the slices flat on the freeze dryer tray. This method ensures quick, even drying. However, if you're not pressed for time and want to batch a larger amount, go ahead and pile them on. Just remember, more volume may mean more drying time.
Post Processing
Once the bananas are dried, remove each tray and separate any pieces that might have stuck together.
Suggested Storage
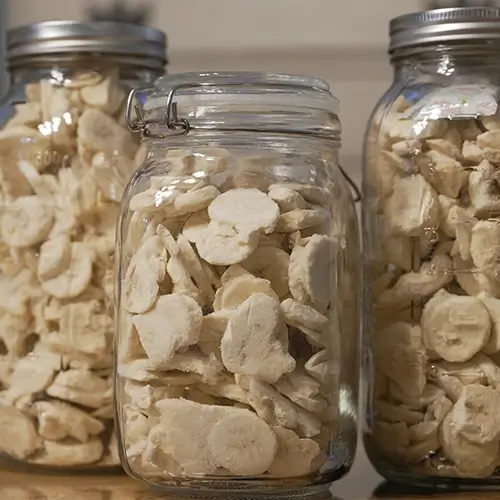
For long-term storage, seal them in mylar bags with an oxygen absorber to maintain freshness. If you plan to munch on them soon, a mason jar will do the trick. Remember to store them in a cool, dark place to preserve their nutrients and flavor.
Before Pictures
After Pictures
Check out the video walkthrough!