Solar-Powered Chicken Coop: Easy DIY Guide
Hey everyone, James here from Techstead Life. We've just tackled a super cool project - hooking up our chicken coop with its very own solar power system. And guess what? We filmed the whole thing so you can check it out on our YouTube channel.
So, Why Go Solar?
Our chicken coop needed some juice - mostly for lights and 2 security cameras so we can keep an eye on our chickens 24/7. There was some previously existing electrical run to the chicken coop but it seemed dangerous at best. Plus, it doesn't seem to be connected anymore and we have no idea how it was connected to the house in the first place! We thought that solar panels would be easier and cheaper long term than trying to fix the existing electrical infrastructure.
So, we hit up Harbor Freight, grabbed a solar panel kit, and decided to give it a go.
Inside the Box
Here's what we got:
- 4 25 watt solar panels
- A charge controller
- LED lights to brighten up the coop
- All the bits and bobs for putting it together
Plus, we picked up a 12v 35ah battery, an inverter (to switch the power from DC to AC), and some extra cables. We chose this particular battery because it is what Harbor Freight had as far as solar batteries. Not a good reason, but not really a bad one either. It seems to be working as intended!
Other Materials
- 8 foot ladder
- Electric drill
- Cable screw clips
- Plywood
- 3" Wood screws
- 3 - 2"x4"x8' pieces of lumber.
Was It Hard?
Nope, not really! We thought it'd be a headache, but it was pretty straightforward. We really think that anyone could do it. We didn't even fuss too much about the angle the panels were supposed to go at - just got them up on the roof to see if they'd work. Sure enough, they draw power from the sun!
Getting the cables inside the chicken coop from outside was a breeze thanks to a big gap between the roof and the wall.
How to connect the solar panel kit?
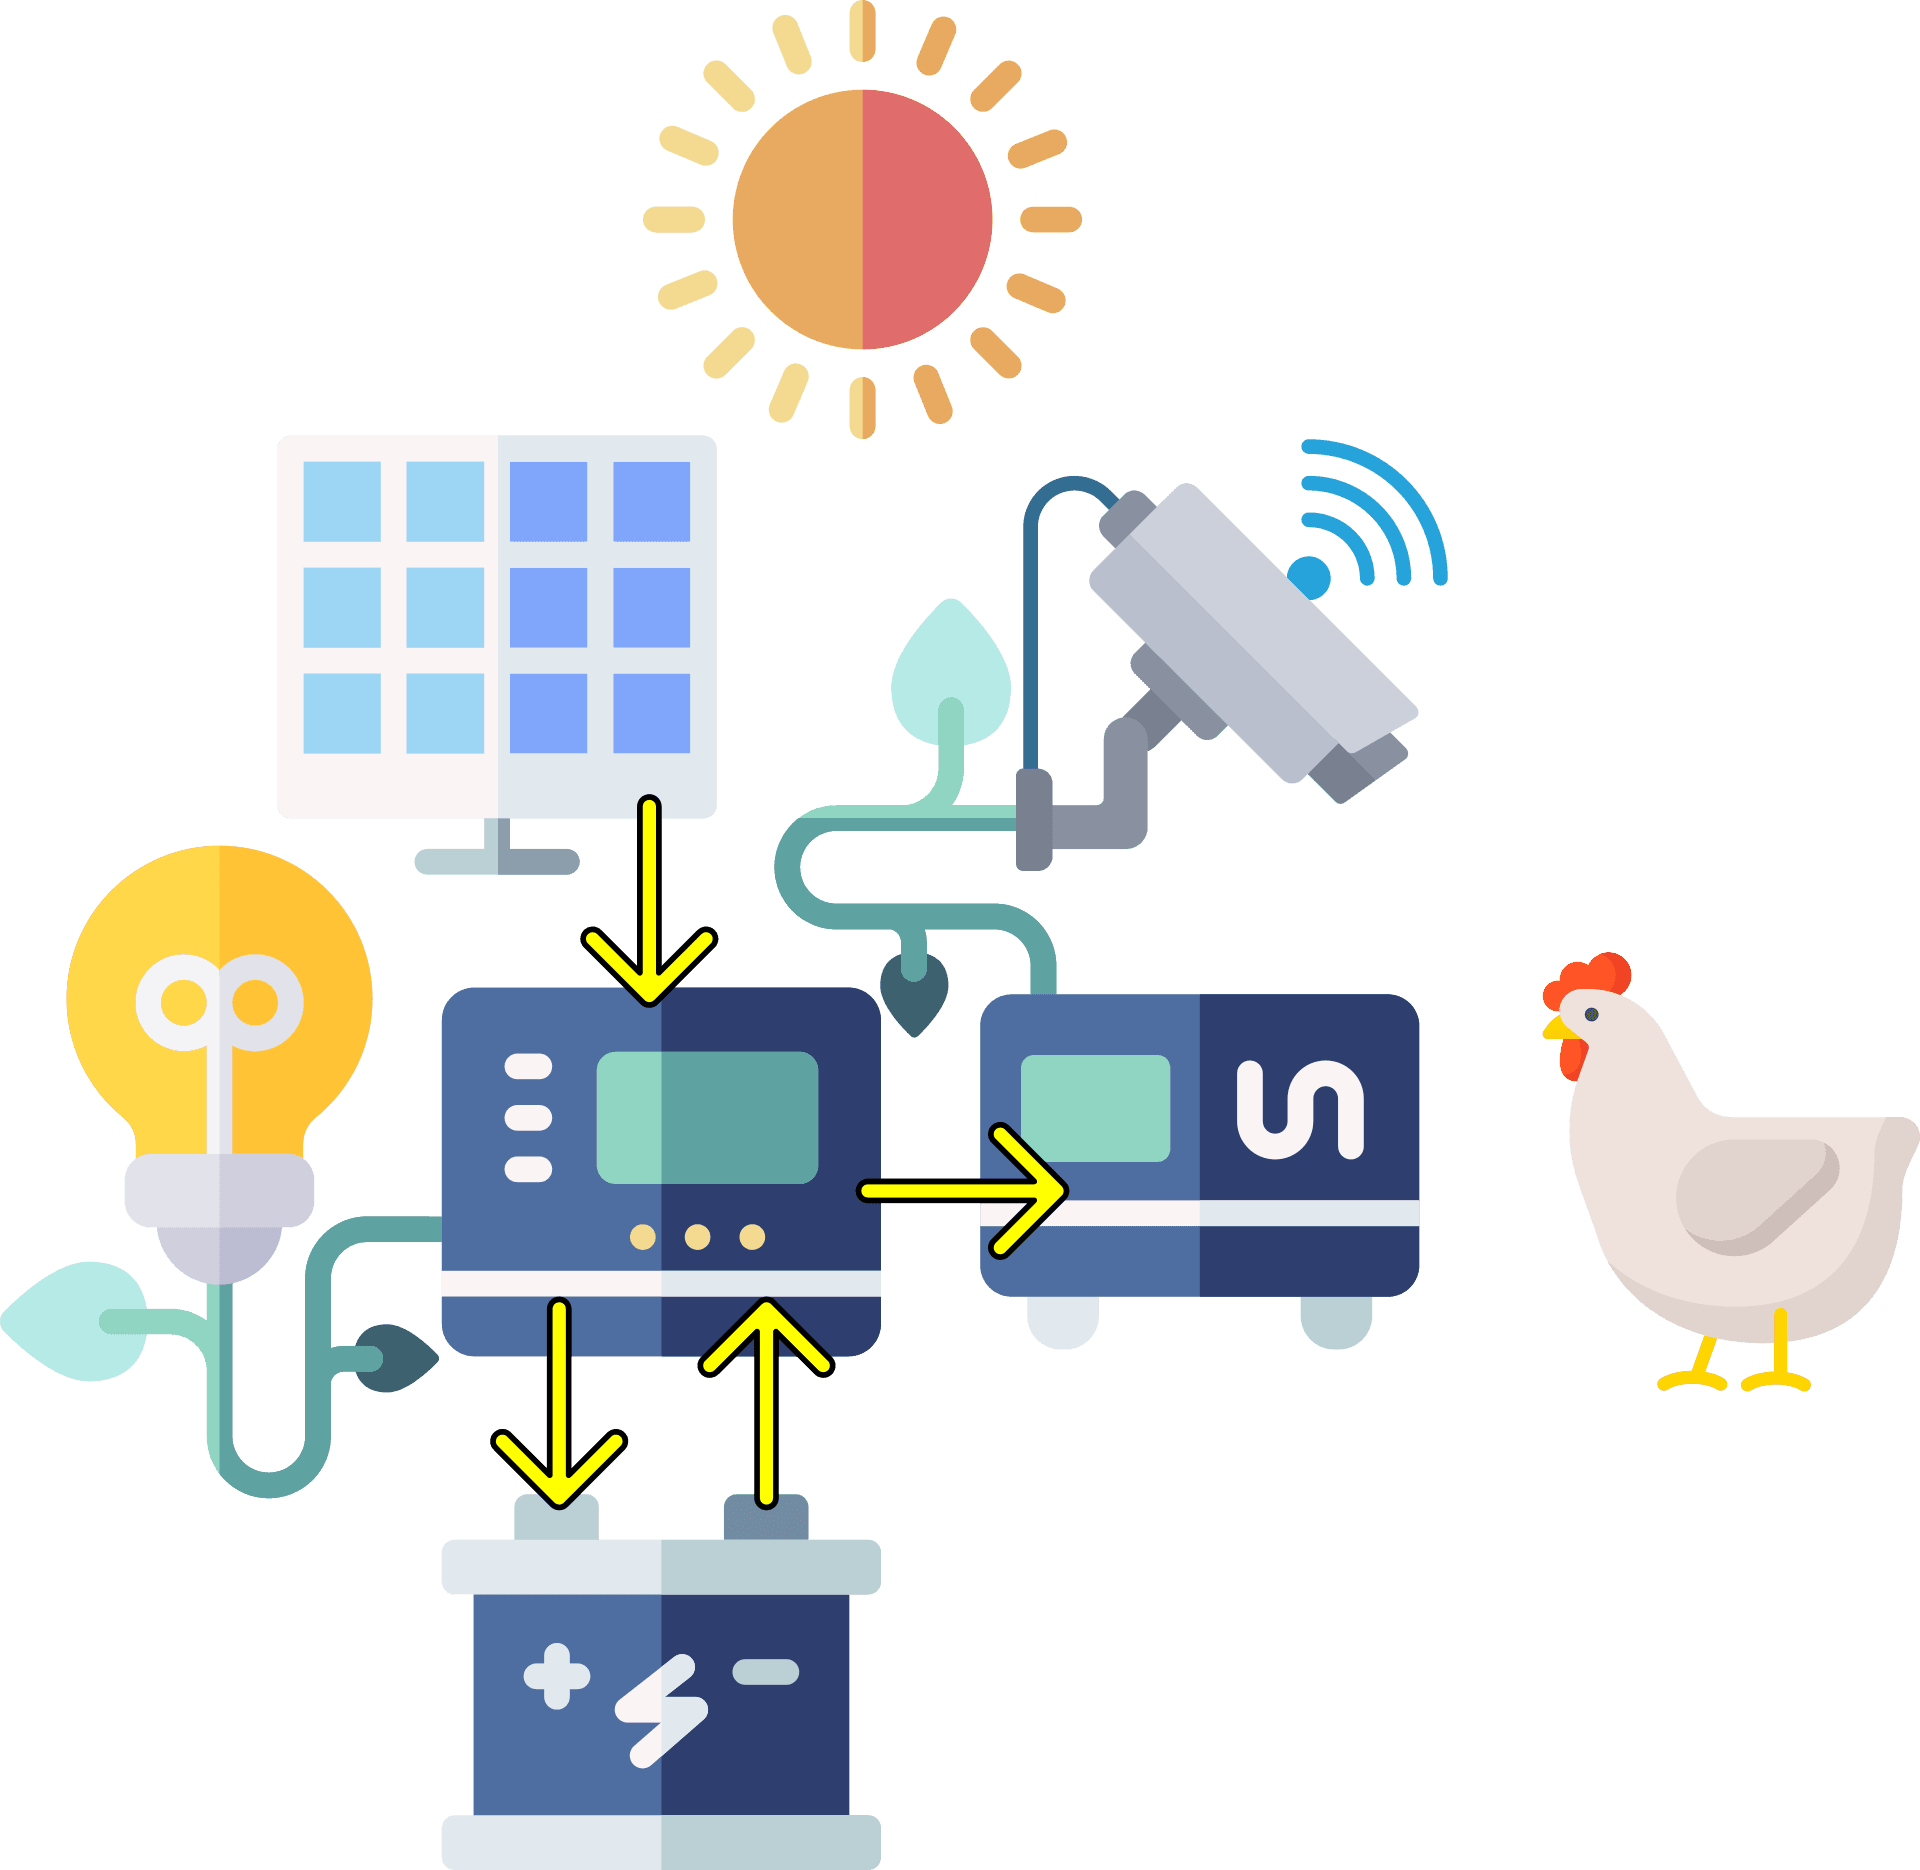
The solar panel kit came with some handy instructions that make it super easy to get all hooked together. The solar panels have cables that all connect into a singular cable using an adapter that came with the kit.
- That cable connects to a solar panel connector on the charge controller.
- The charge controller is then connected to the 12v 35ah battery.
- The charge controller has a specific place to connect the battery as well.
- The charge controller also has a connector for the included LED lights and other load. Load is anything that is using power from the charge controller.
- You connect the inverter to one of the load connectors on the charge controller.

That is pretty much it. Everything connects to the charge controller which stores the solar energy on the battery. The charge controller is aware of how much charge the battery has and won't overcharge the battery and will turn off the load if the battery gets too low. Super simple, super fast connection.
Putting It All Together
We started by screwing a plywood board to the wall for all the gear. We made sure to put this inside of the chicken coop somewhere that it shouldn't get too dusty and protected from weather like rain. Water and electricity generally don't mix well after all!
First up was attaching the charge controller to the wall. It has handy screw holes for attaching to a wall like this that made it quick and easy. Next we attached the inverter next to the charge controller. Same deal here, screw holes for attaching easily to a wall.
We built about a foot and half under the charge controller to hold the battery. The type of battery we got really can't be attached to a wall very easily.
Follow the instructions for the proper order for getting everything connected so you don't get electrocuted. Once the battery is connected to the charge controller the charge controller should power right up. The moment of truth, testing the lights...
And... Light!
It worked like a charm! The lights came on, and everything was running smoothly. The charge controller was doing its job, the battery was holding the power, and the inverter was ready for our security cameras.
Wrapping Up
The last step was to make sure the lights were all set up in the coop and that all the cables were tidy and out of the way. Using the cable clips we were able to neatly strap the cables up to the rafters of the chicken coop to make sure no one would catch anything going by and decrease the likelyhood of getting chewed on by pests.
Over to You!
Got questions? Want to see something in more detail? Check out the social channels and drop a like or follow!
Thanks for hanging out, and here's to more fun projects coming your way!
Check out the YouTube video for a more in depth DIY!